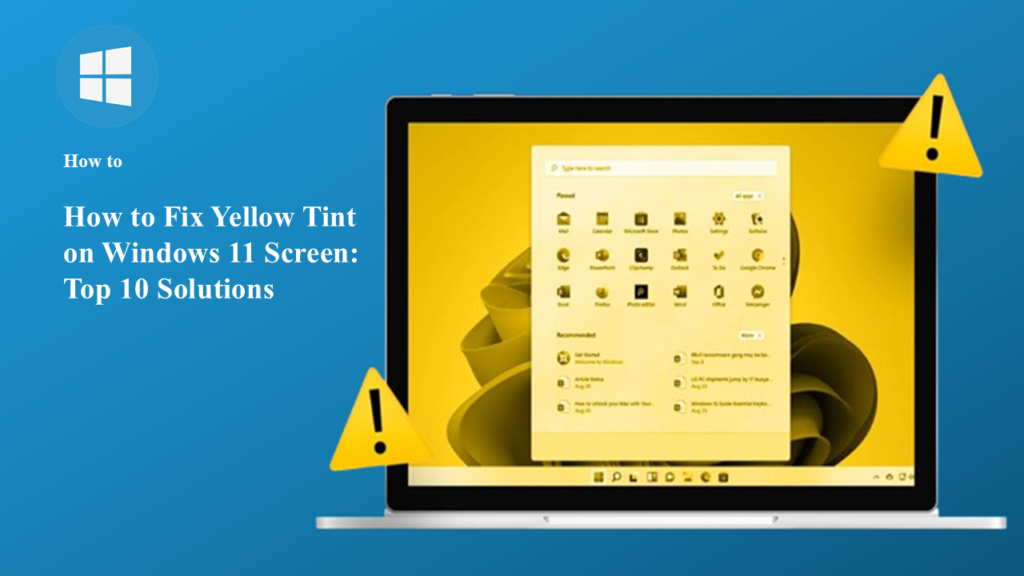
Facing the Windows 11 yellow tint issue? Discover 10 easy solutions to fix screen color problems and restore accurate display settings quickly.
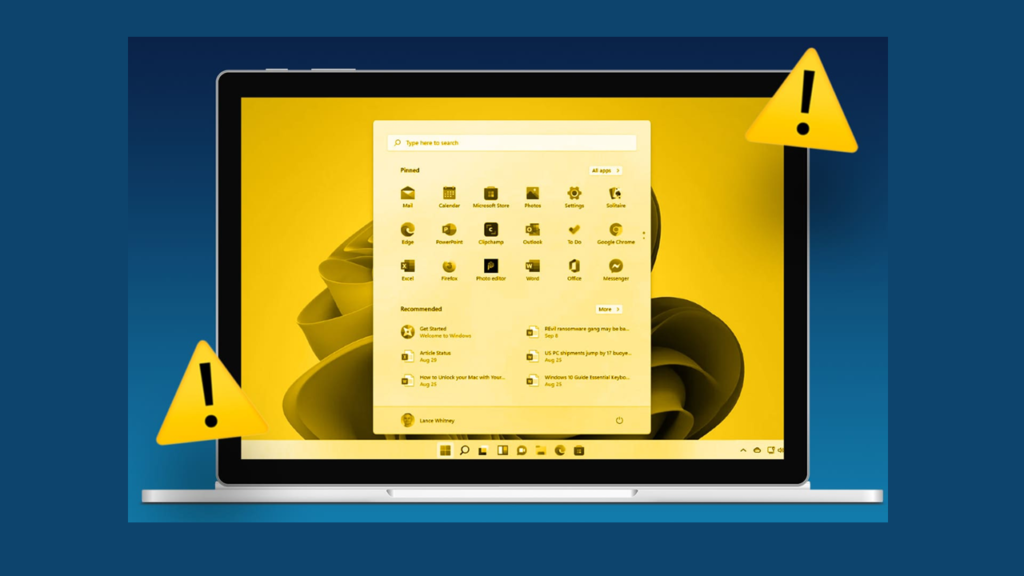
A yellow tint on your Windows 11 screen can be frustrating. It can affect how your display looks and even cause discomfort while working or watching content. Don’t worry; this issue is common and can be resolved with some simple steps. In this blog post, we’ll walk you through 10 effective ways to fix the yellow tint issue on your Windows 11 screen.
Table of Contents
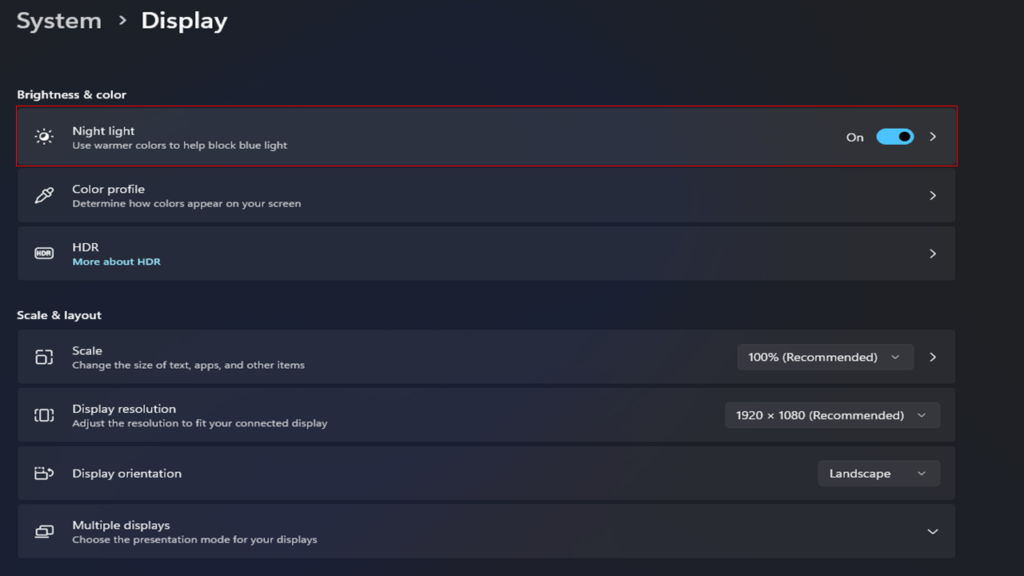
1. Turn Off Night Light to Fix Windows 11 Yellow Tint
The Night Light feature in Windows 11 reduces blue light to protect your eyes, especially in the evening. However, it also gives your screen a yellowish hue. If this feature is turned on, you can easily disable it.
Steps:
- Open Settings by pressing Windows + I.
- Navigate to System > Display.
- Scroll down and find the Night Light toggle.
- Turn it Off.
Alternatively, click the Quick Settings panel in the taskbar (click on the network, sound, or battery icon), and toggle off Night Light directly.
2. Adjust Display Color Calibration for Windows 11 Yellow Tint
Incorrect color calibration can cause display issues like a yellow tint. Windows 11 provides a built-in tool to calibrate your screen colors.
Steps:
- Open the Start Menu, search for Calibrate Display Color, and select it.
- Follow the on-screen instructions to adjust gamma, brightness, contrast, and color balance.
- Save the changes to improve your screen’s appearance.
This process ensures that your display settings are accurate and free of any unintended tint.
3. Check Graphics Driver Settings if Windows 11 Yellow Tint Appears
Sometimes, your graphics driver settings may have been accidentally changed, causing a yellow tint. You can reset these settings to their default values.
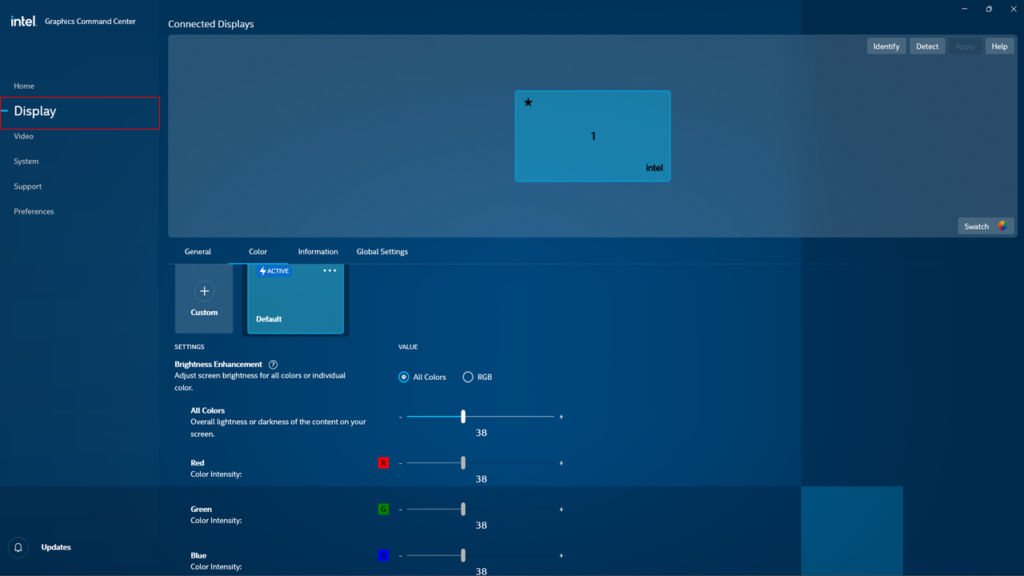
For Intel Graphics:
- Open Intel Graphics Command Center.
- Go to Display > Color Settings.
- Reset all settings to their default values.
For NVIDIA Graphics:
- Open NVIDIA Control Panel.
- Navigate to Display > Adjust Desktop Color Settings.
- Click Restore Defaults.
For AMD Graphics:
- Open AMD Radeon Software.
- Go to Display.
- Reset the color settings.
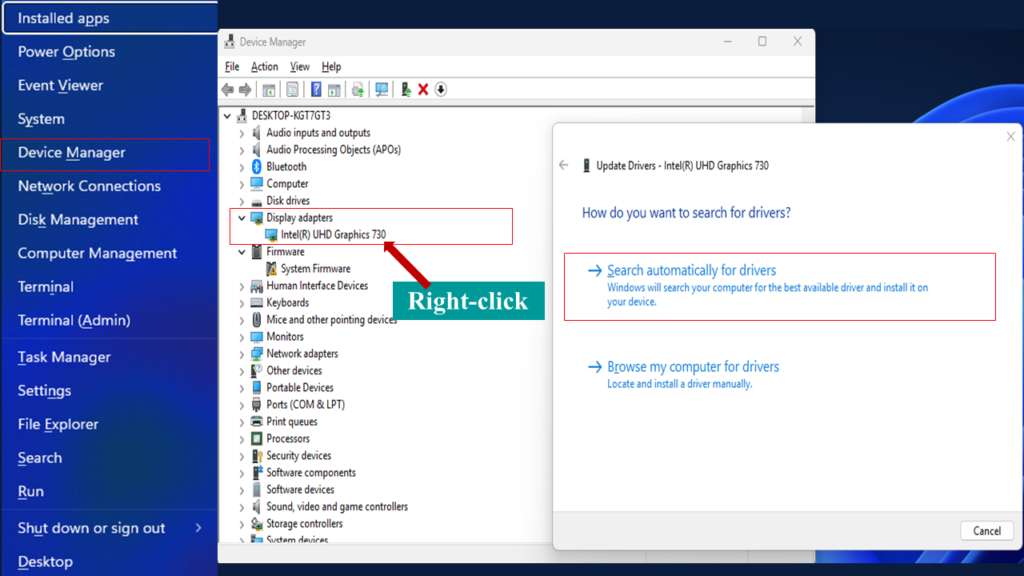
4. Update or Roll Back Graphics Drivers to Fix Windows 11 Yellow Tint
Outdated or buggy graphics drivers can cause display issues. Updating or rolling back the driver may fix the problem.
Steps:
- Press Windows + X and select Device Manager.
- Expand Display Adapters.
- Right-click your graphics card and select Update Driver.
- Choose Search Automatically for Drivers.
If the yellow tint started after a driver update, you can roll back to the previous version:
- Right-click your graphics card and select Properties.
- Go to the Driver tab and click Roll Back Driver.
5. Disable Third-Party Apps That Cause Windows 11 Yellow Tint
Third-party apps like f.lux or other blue-light filter tools might be causing the yellow tint. Temporarily close or uninstall these apps to see if the issue resolves.
Steps:
- Press Ctrl + Shift + Esc to open the Task Manager.
- Look for any third-party app like f.lux in the list.
- Right-click the app and select End Task.
- If the issue resolves, uninstall the app by going to Settings > Apps > Installed Apps.
6. Disable Color Filters in Windows Settings to Fix Windows 11 Yellow Tint
Windows 11 includes built-in color filters for accessibility purposes. If enabled, these filters can affect your display’s colors.
Steps:
- Open Settings by pressing Windows + I.
- Navigate to Accessibility > Color Filters.
- Make sure the toggle for Color Filters is Off.
This will ensure no unnecessary filters are altering your screen’s appearance.
7. Reset Monitor Settings if You Notice Windows 11 Yellow Tint
If you are using an external monitor, incorrect monitor settings might be causing the yellow tint. You can reset your monitor settings to their default values.
Steps:
- Use the buttons on your monitor to access its on-screen display menu.
- Look for an option like Color Mode, Reset, or Factory Reset.
- Follow the instructions to reset your monitor settings.
8. Perform a Windows Update to Resolve Windows 11 Yellow Tint Issues
Microsoft frequently releases updates that fix bugs, including display-related issues. Keeping your system up to date is essential.
Steps:
- Open Settings and go to Windows Update.
- Click Check for Updates.
- If updates are available, download and install them.
- Restart your computer and check if the yellow tint issue is resolved.
9. Change Display Mode to Remove Windows 11 Yellow Tint on Screen
Your display mode settings might be incorrect, causing a yellow tint. Setting the recommended resolution and refresh rate can fix this.
Steps:
- Open Settings and go to System > Display.
- Scroll down to Scale and Layout.
- Ensure the Display Resolution is set to the recommended value.
- Click on Advanced Display Settings and set the recommended refresh rate.
10. Check for Hardware Issues Causing Windows 11 Yellow Tint
If none of the above methods work, the problem might be hardware-related. Here’s how to check:
- External Monitor: Connect a different monitor to your computer. If the issue persists, the problem might be with your computer’s hardware or drivers.
- Internal Screen: If you’re using a laptop and the yellow tint doesn’t appear on an external monitor, the issue might be with the laptop’s screen.
If a hardware issue is identified, you may need to contact a technician or your device manufacturer for support.
Conclusion
A yellow tint on your Windows 11 screen can be annoying, but it’s usually easy to fix. Start by checking software settings like Night Light, Color Filters, and graphics drivers. If those don’t work, reset your monitor settings or calibrate your display. For persistent issues, updating Windows or checking for hardware problems can help.
By following these 10 steps, you can enjoy a properly calibrated display free of any yellow tint. Let us know in the comments which solution worked best for you!